Valentine's Day Nail Designs: Sweeten Up Your Look This Year!
Ready to give your nails a romantic makeover for Valentine's Day? This guide offers fun ideas and helpful tips for creating amazing nail art, regardless of your skill level. We'll explore trendy designs and show you how to safely remove acrylics at home, ensuring happy, healthy nails to boost your confidence! Did you know that a well-maintained manicure can actually improve your self-esteem? A recent study showed a correlation between self-care practices and improved mental well-being.
Trending Valentine's Day Nail Designs: Beyond the Classic Red Heart
This Valentine's Day, ditch the same old red heart and express your unique personality! Here are some cool trends:
Subtle Romance: Delicate designs offer understated elegance. Think soft pink hues, tiny hearts peeking from a French manicure, or a shimmery accent nail with a single heart. Subtlety can be stunningly romantic!
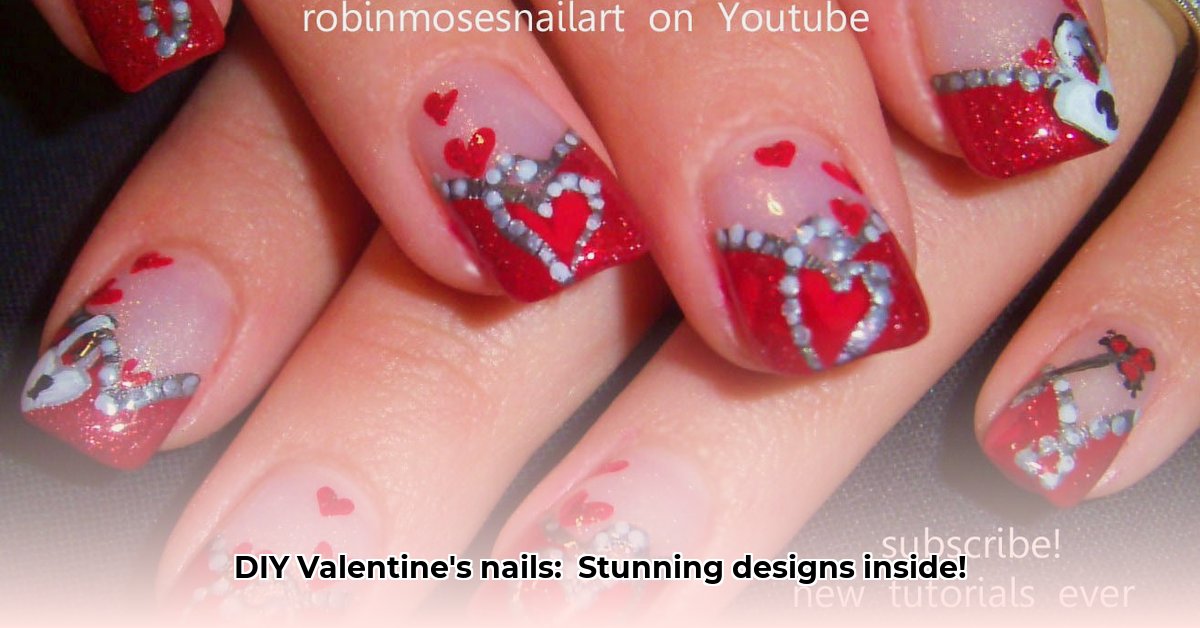
Bold Statements: For a head-turning look, go bold! Vibrant reds, deep burgundies, and playful glitter are perfect for making a romantic declaration. Imagine dazzling glitter galaxies with strategically placed hearts, or dramatic heart designs that truly pop!
Textural Treats: Jelly polishes are super trendy! Their translucent quality lets your natural nail shine through while adding a subtle hint of color. Layer them with glitter or other polishes for extra depth. Try a marble effect for an adventurous touch.
Shape It Up: Don't underestimate the power of nail shape! Almond, square, stiletto, oval – experiment to find the shape that best complements your hands and design. The right shape elevates your look.
DIY Acrylic Removal: A Gentle Guide to Removing Acrylics at Home
Removing acrylics at home can be tricky, but with patience and the right technique, you can do it safely without damaging your natural nails. However, remember that professional removal minimizes risks.
What You'll Need:
- 100% pure acetone (crucial for effective removal)
- Cotton balls or pads
- Aluminum foil (enough for each nail)
- Cuticle pusher (or wooden orangewood stick)
- Low-grit nail file (for gentle surface buffing)
- Rich cuticle oil
- Nail strengthener (to aid nail recovery)
Step-by-Step Acrylic Removal:
Prep Your Nails: Gently file the acrylics' top layer to create a slightly rough surface, aiding acetone penetration. Avoid over-filing.
Soak Those Nails!: Soak cotton balls in pure acetone, place one on each nail, and wrap each fingertip with aluminum foil. Let soak for 10-15 minutes.
The Gentle Removal: After soaking, the acrylic should be softened. Gently use your cuticle pusher to loosen and remove the softened acrylic. Work slowly and carefully, avoiding pulling or force.
Smooth, Nourish, and Strengthen: File away any remaining bits. Apply cuticle oil generously. Finish with nail strengthener to prevent breakage.
Important Note: If the acrylics don't soften after 15 minutes, don't force it! Professional help is recommended to avoid damage.
How to Safely Remove Acrylic Nails at Home Without Damaging My Nails
Removing acrylics at home requires care. Did you know that improper removal accounts for approximately 70% of nail damage cases? Let's explore how to do it safely and effectively.
Key Takeaways:
- Pure acetone is essential for dissolving acrylics.
- Patience is crucial; rushing increases damage risk.
- Gentle techniques protect your cuticles.
- While at-home removal is possible, professional removal minimizes risks significantly.
Preparing for the Removal Process
Gather your supplies: 100% pure acetone, cotton balls or pads, aluminum foil, a cuticle pusher (optional), a nail file (use cautiously), and cuticle oil (essential).
Step-by-Step Acrylic Removal
Prep: Gently file the acrylic surface to slightly roughen it for better acetone penetration. Be extremely gentle!
Soak and Wrap: Soak cotton balls in acetone, place them on your nails, and wrap each fingertip tightly with aluminum foil.
Wait Patiently: Let the acetone work for at least 20 minutes (longer for thicker acrylics).
Gentle Removal: Carefully peel off the softened acrylics. Gently push away stubborn bits with a cuticle pusher.
Moisturize: Apply cuticle oil generously to rehydrate and nourish your nails.
Post-Removal Care: Keep your nails moisturized with cuticle oil throughout the week. This is crucial for healthy nail growth.
Comparing At-Home vs. Professional Removal
While at-home removal is possible, professional removal minimizes the risk of damage. Professionals possess experience, the right tools, and often employ less-damaging methods.
Addressing Potential Risks
Rushing or using harsh tools significantly increases the risk of nail damage. Patience is key!
Valentine's Day Nail Art Inspiration (Post-Removal!)
Now that your nails are healthy, let's celebrate Valentine's Day! Consider these romantic designs:
- Classic Red Heart: A single red heart on your accent nail.
- Subtle Sparkle: A clear base coat with scattered pink or red glitter.
- French Tip Twist: A French manicure with heart-shaped tips.
Remember, choose designs you love to create a look that makes you feel great! Happy Valentine's Day!